Produsentens delenummer 3635
ADDRESS LED STRIP 1M
Adafruit Industries LLC
3D Printing Wifi Addressable LEDs WS2812/SK6812 (NeoPixel) LED Strips ESP32

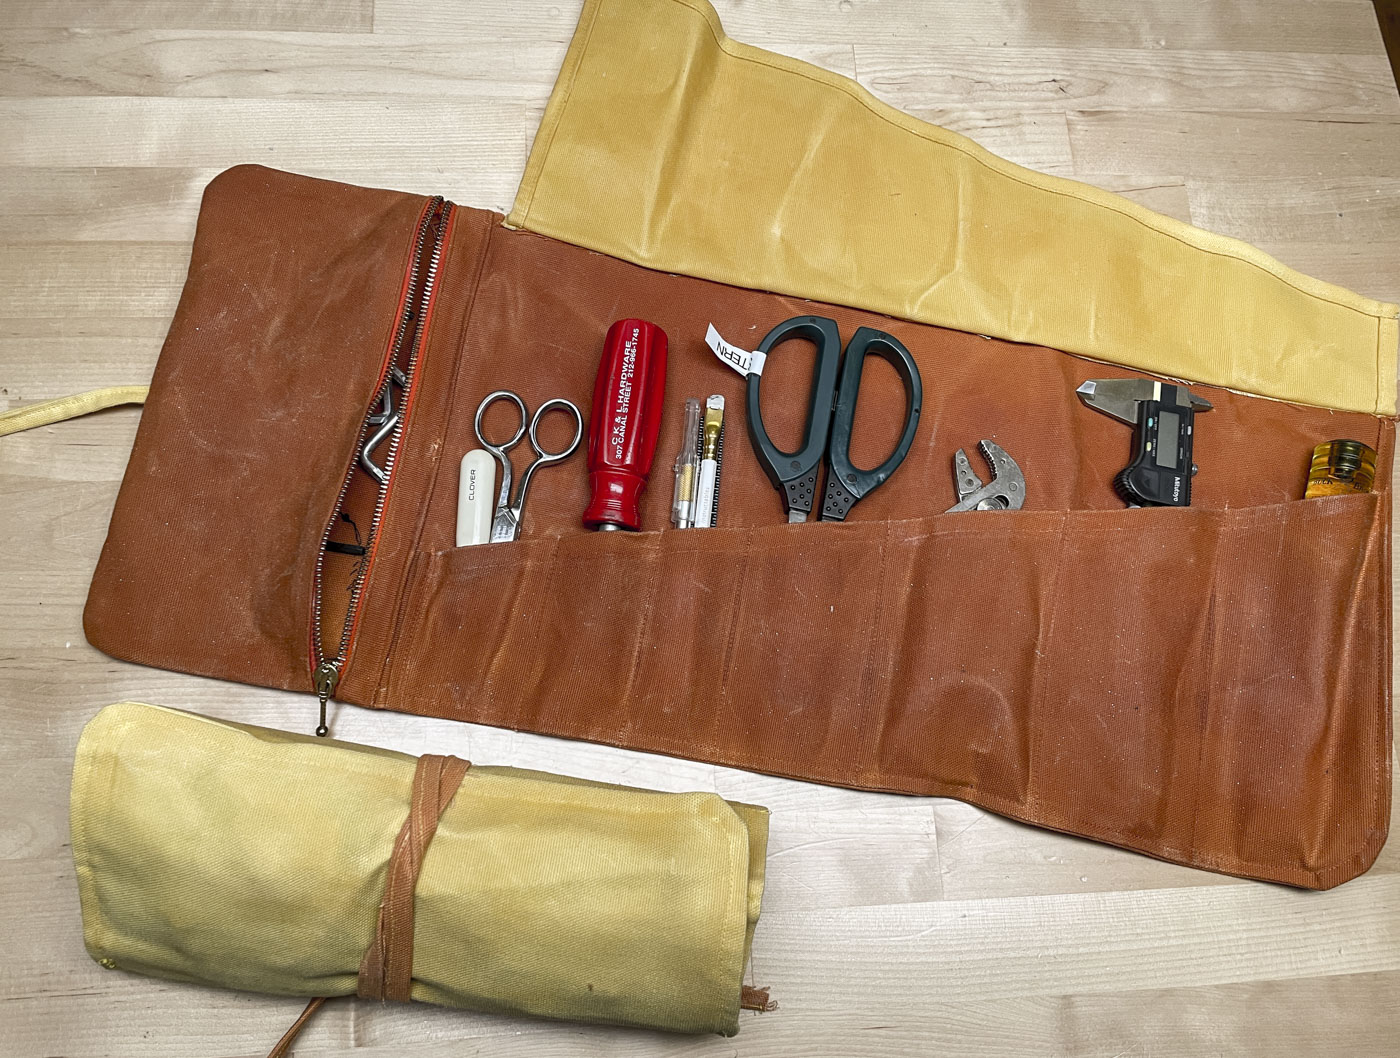
Today, I’ll show you how I built a smart illuminated display case for showing off your finest wares. Specifically, I built this as a YouTube Makers Secret Santa gift for Nate From The Internet. I wanted this year’s gift to balance delight with practicality, so it has two parts: the LED display case with 3D printed logos, and a sturdy fabric knife roll. This article will focus on the display case, and you can find the free sewing pattern for the knife roll on my website.

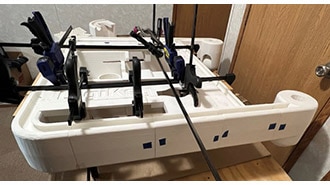
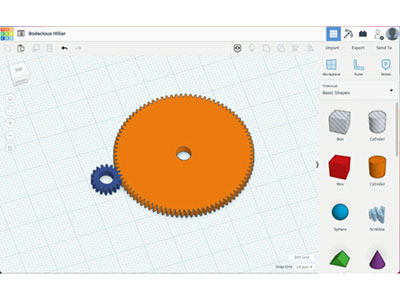
I started with a locking steel and glass key storage cabinet, and customized it by adding NeoPixel LED strip and a 3D printed honeycomb storage wall (HCW), which is a great system of 3D printable parts that lets you swap in whatever hooks or shelves you need. I know Nate loves 3D printing, so while I printed a few generic mounts, I expect he’ll want to customize his to match the items he chooses to display.
I removed the stock logo from the glass using some acetone.
To follow along with this project, you will need:
First, I had to flatten out the key hooks by smashing them down with a hammer. Then I used some five-minute epoxy to glue in some black foam core board and the 3D printed grid.
Next, I drilled a hole for the power cable to come through the bottom of the cabinet. I used a step drill. Ideally, you’d use a drill press for this, but a hand drill and some patience will suffice.
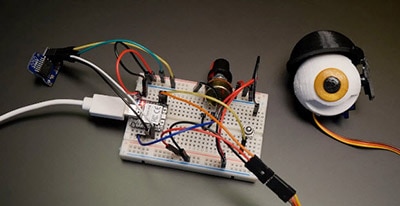
Then it was time to bring in the smart part. I used an Arduino Nano ESP32 Wi-Fi microcontroller, wired up to some NeoPixel addressable LED strip, and it’s running software called WLED.
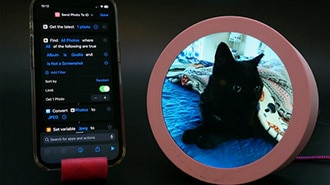
So, while I did set a default color, all Nate has to do to change or animate the LEDs is join the device’s Wi-Fi access point and fire up the WLED app. He can then also add in his own Wi-Fi details so the device can be controlled over his local network.
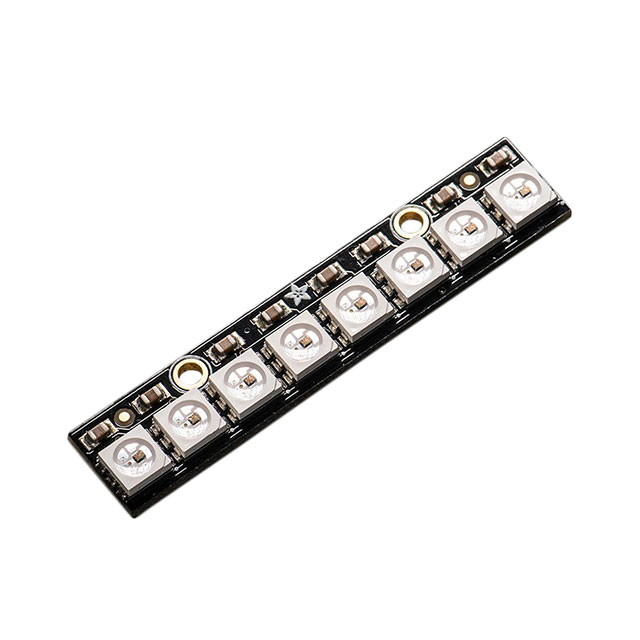
I’m using one meter of side-emitting NeoPixel strip, and at the end, I’ve added a NeoPixel stick. The idea is for the strip to run around the inside of the frame, and the stick to light up a 3D printed logo at the center front. Because they are all the same type of pixels, I can chain them together like this. I used hot glue to install the circuit, as well as Nate’s logos, which I 3D printed.

Head over to Nate’s channel to watch him open my gift.
If you’re looking to build up your skills enough to build a project like this one, check out my electronics teaching series on the DigiKey YouTube channel. We start with the absolute basics, such as soldering LED circuits and introducing critical tools, then build to more complex topics, including connecting microcontrollers to the internet, as I’m doing in this project with WLED.